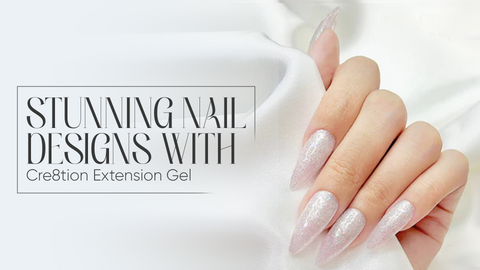


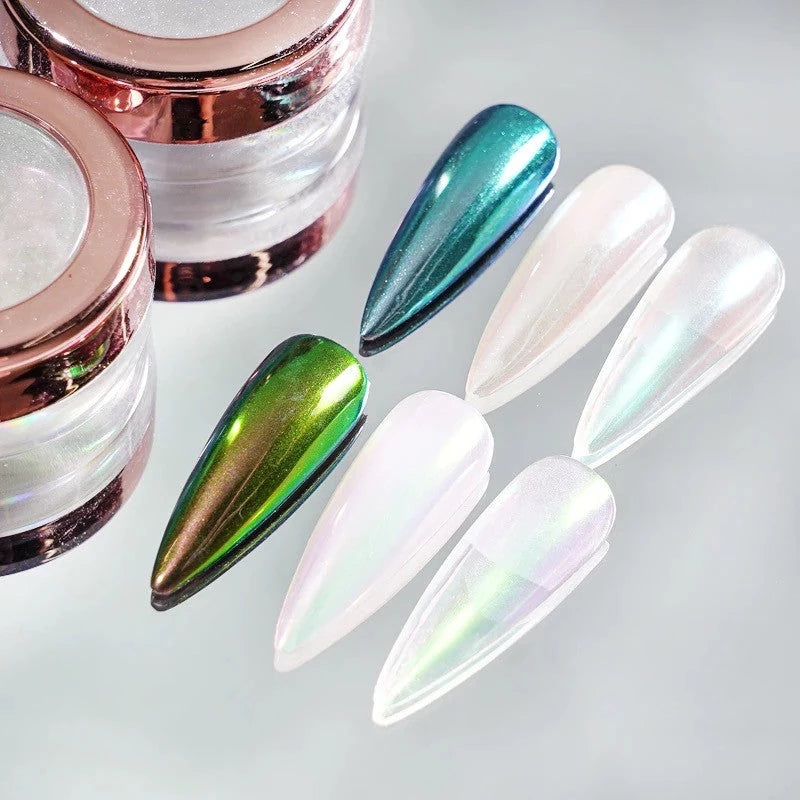


Stunning gel nail extensions are something all nail art admirers long for. However, going to the salon to get them done not only takes extra time but dollars too. To save you from the hassles of booking an appointment and especially taking out time of your schedule to reach the salon, here is a guide for you to achieve perfect nail extensions with Cre8tion nail extension gel.
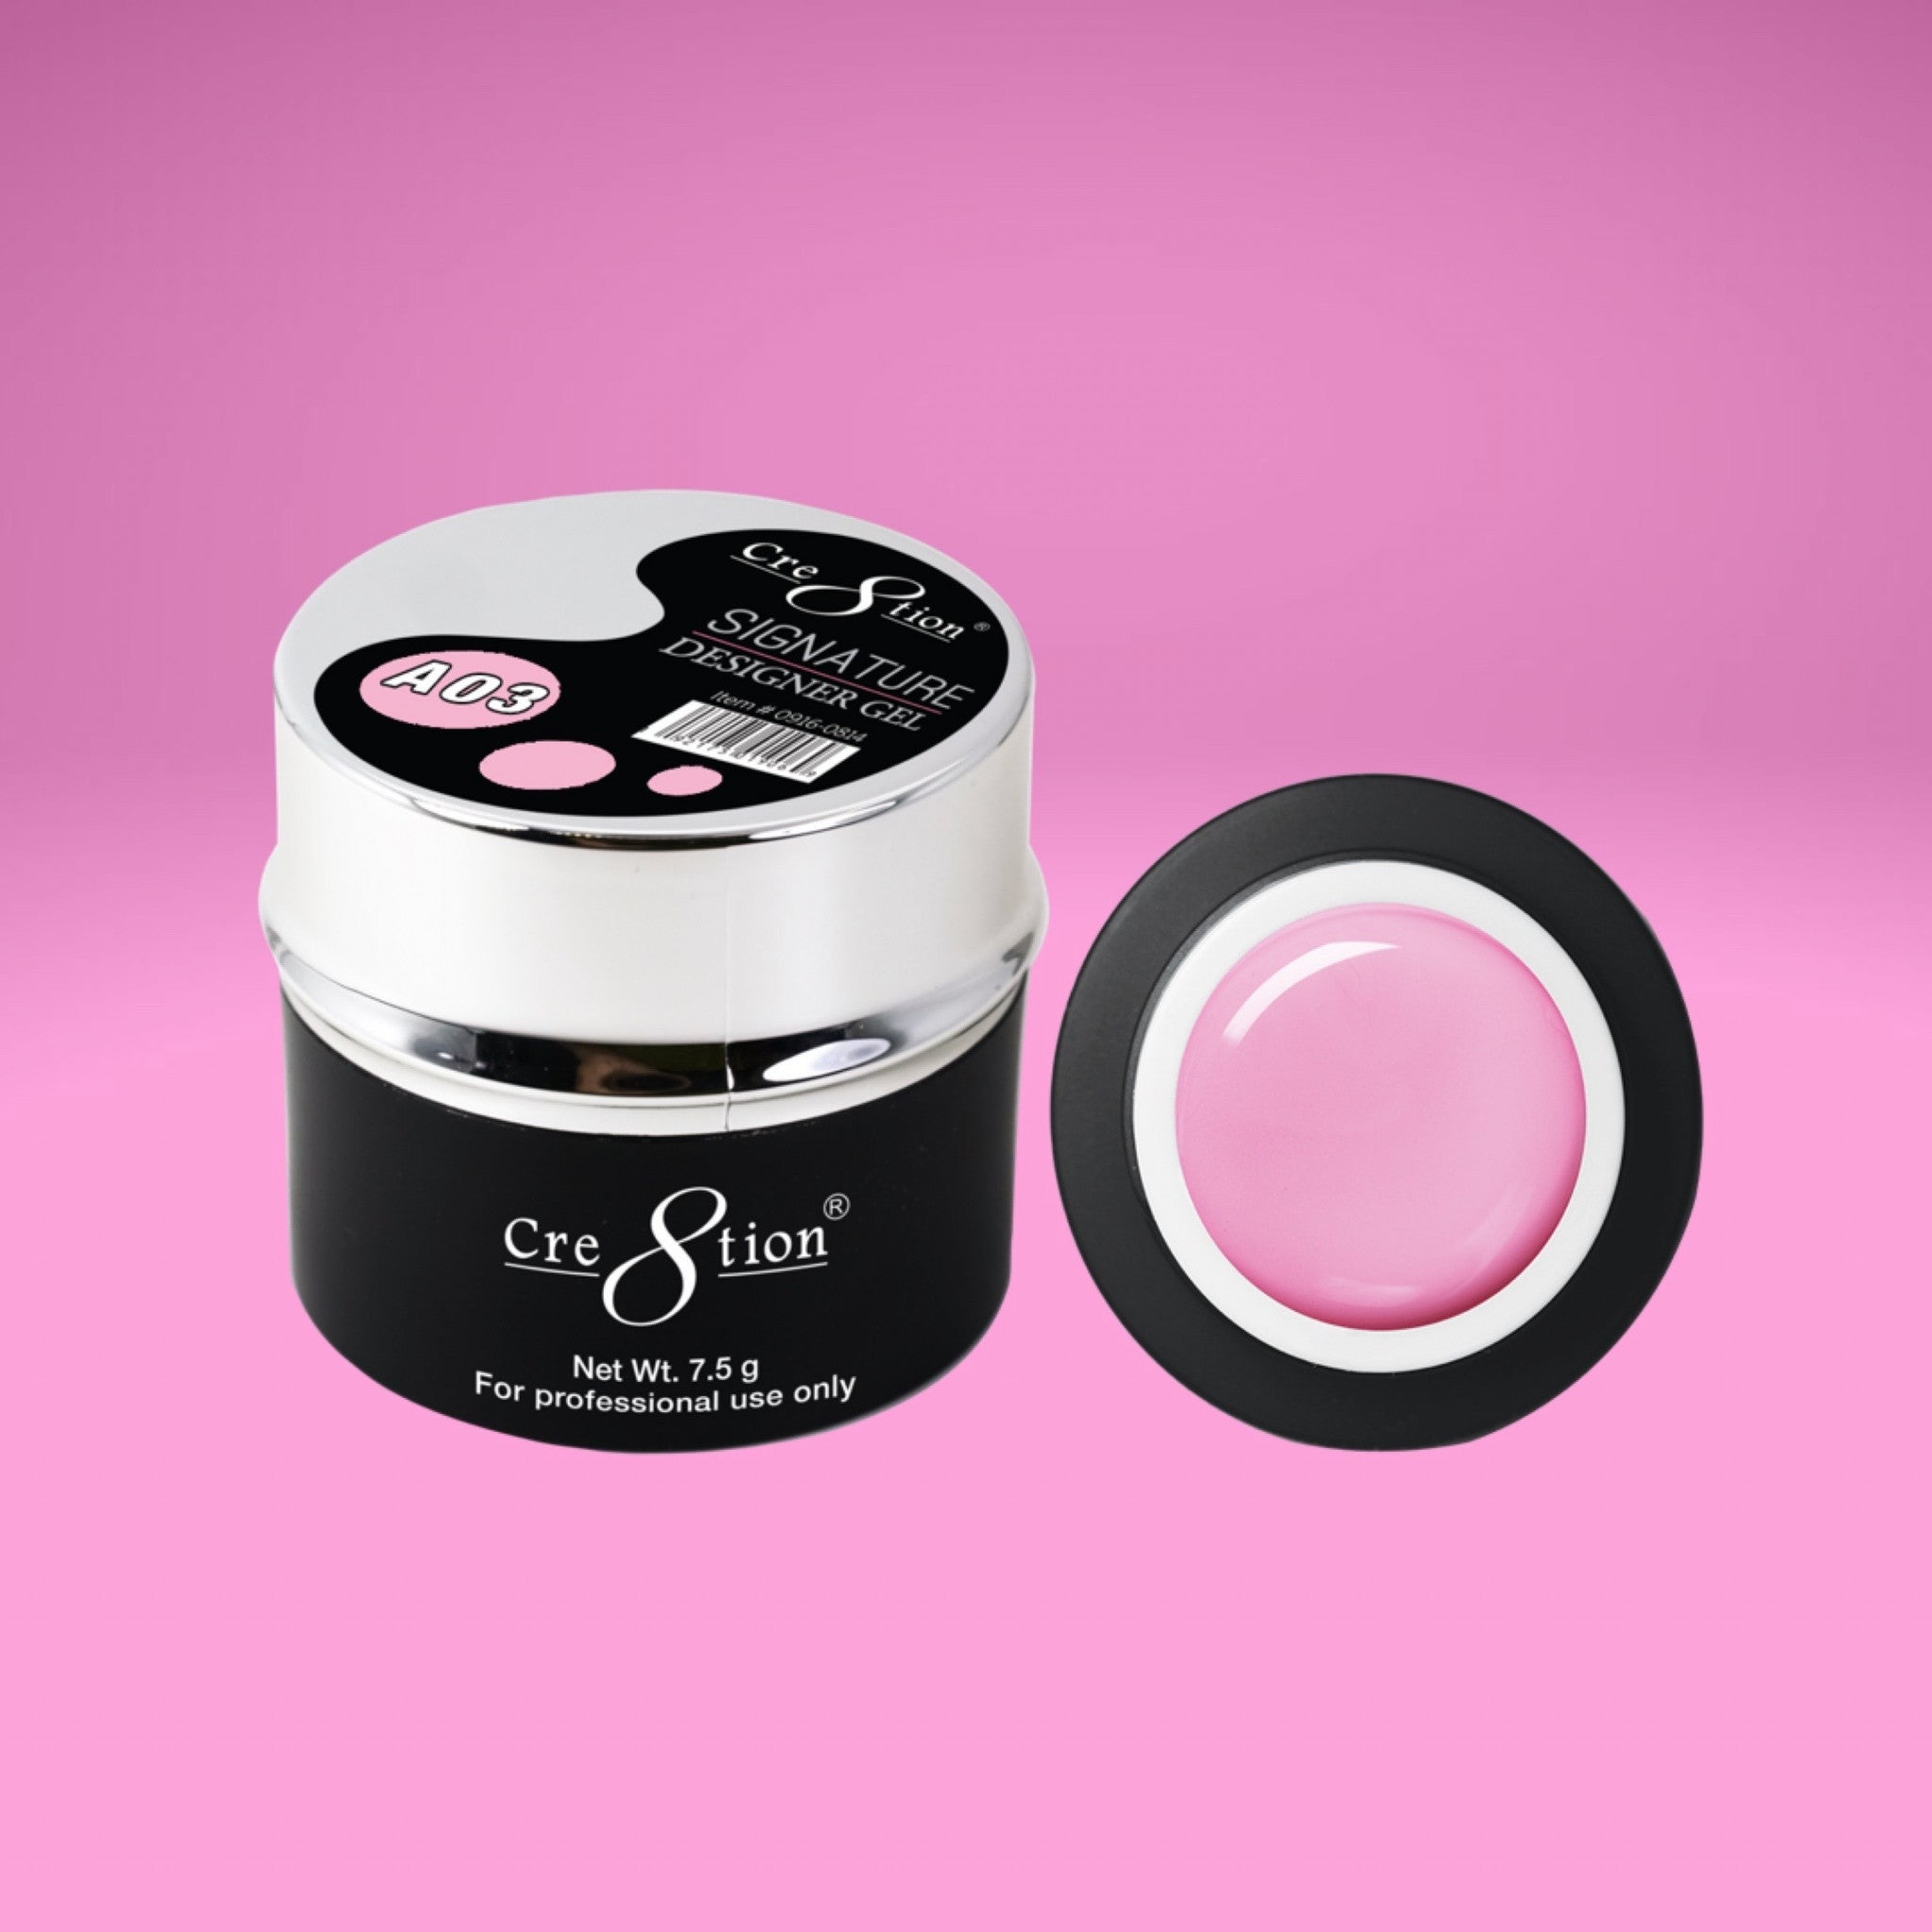
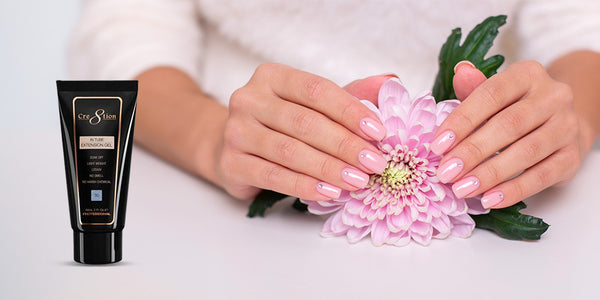
Why Cre8tion nail extension gel you may think. Well, the reason is that the Cre8tion Nail Extension Gel is easy to use and beginner-friendly. It helps you create stunning gel nail extensions with a few simple strokes of brush.
Whether you're a pro nail technician or an enthusiast who wants to go for a new nail look, doing your own gel nail extensions is easier than ever. Follow these step-by-step instructions to achieve perfect nails with Cre8tion nail extension gel now.
Step to Achieve Perfect Nail Extensions with Cre8tion Nail Extension Gel
Here is the step-by-step guide to achieving the perfect nail extensions with Cre8tion nail extension gel-
Start with Nail Prepping:
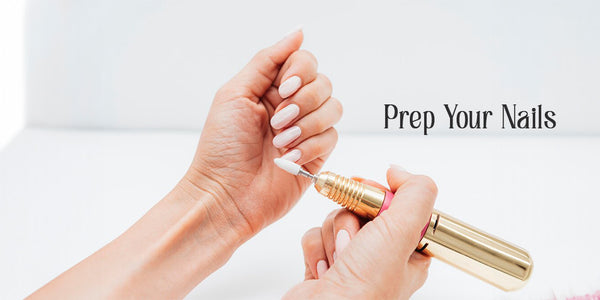
Begin by preparing your nails for the nail extension gel.
- Remove any old coverage using a combination of chemical and mechanical methods.
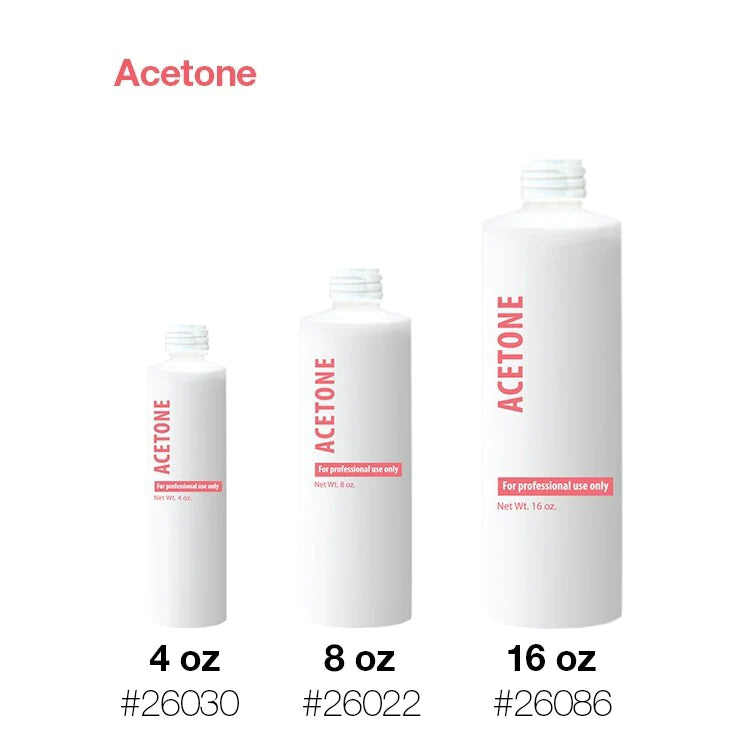
- You can use acetone(nail paint remover), as a chemical, to remove any priorly applied nail polish.
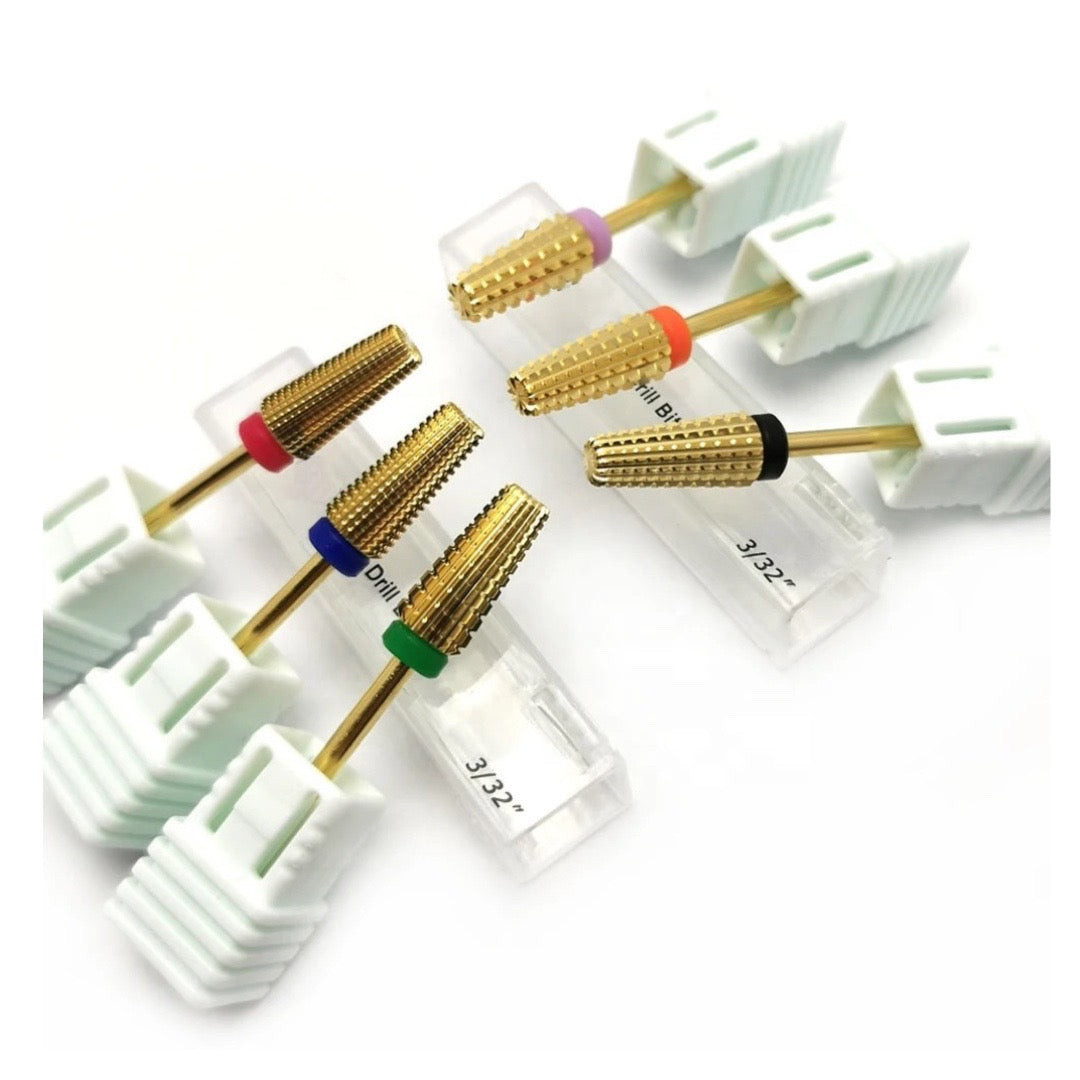
- For mechanical, use a drill to gently remove the upper surface of the nail, ensuring a smooth canvas for the extensions.
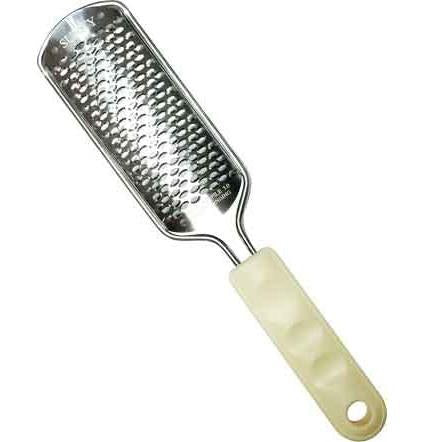
- File the nails to the shape you desire and smooth out any rough edges of your nails.
- Wipe the nails with a tissue to remove any dust or debris on your nails. This ensures that they are clean, dry, and well-prepped before proceeding to the next step.
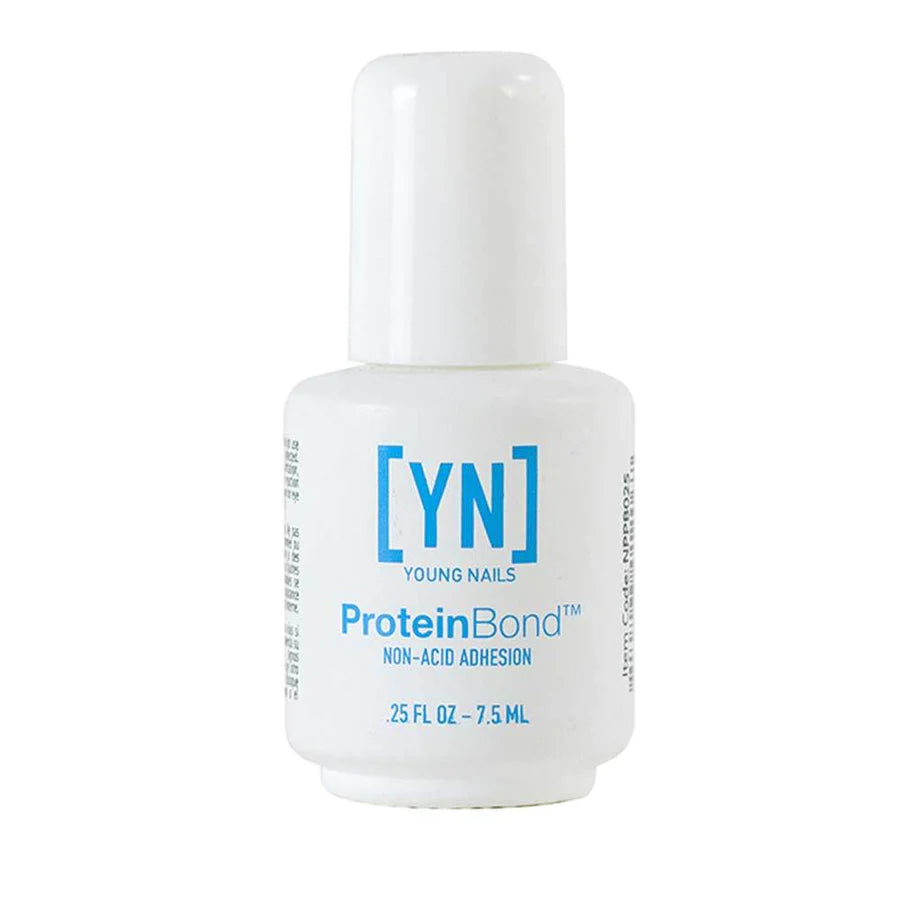
Apply the Nail Primer:
- The next thing you need to do is apply a nail primer to the nails to promote the adhesion and longevity of the nail extension gel.
- Allow the primer to evaporate completely before moving further.
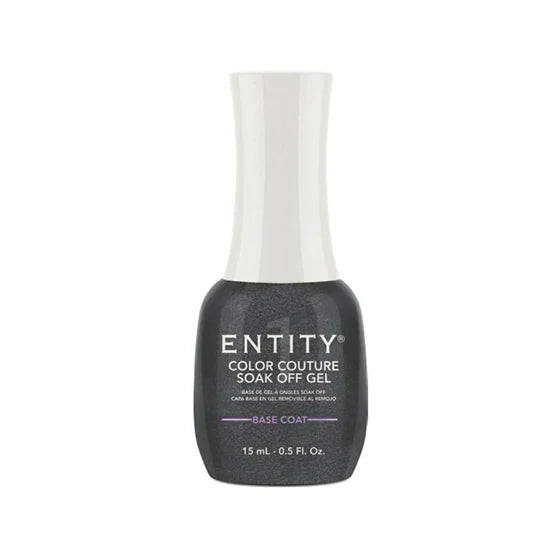
Apply Base Coat Before the Cre8tion Nail Extension Gel:
- Apply a thin layer of base coat starting from near the cuticle area, ensuring that the entire nail surface is evenly covered.
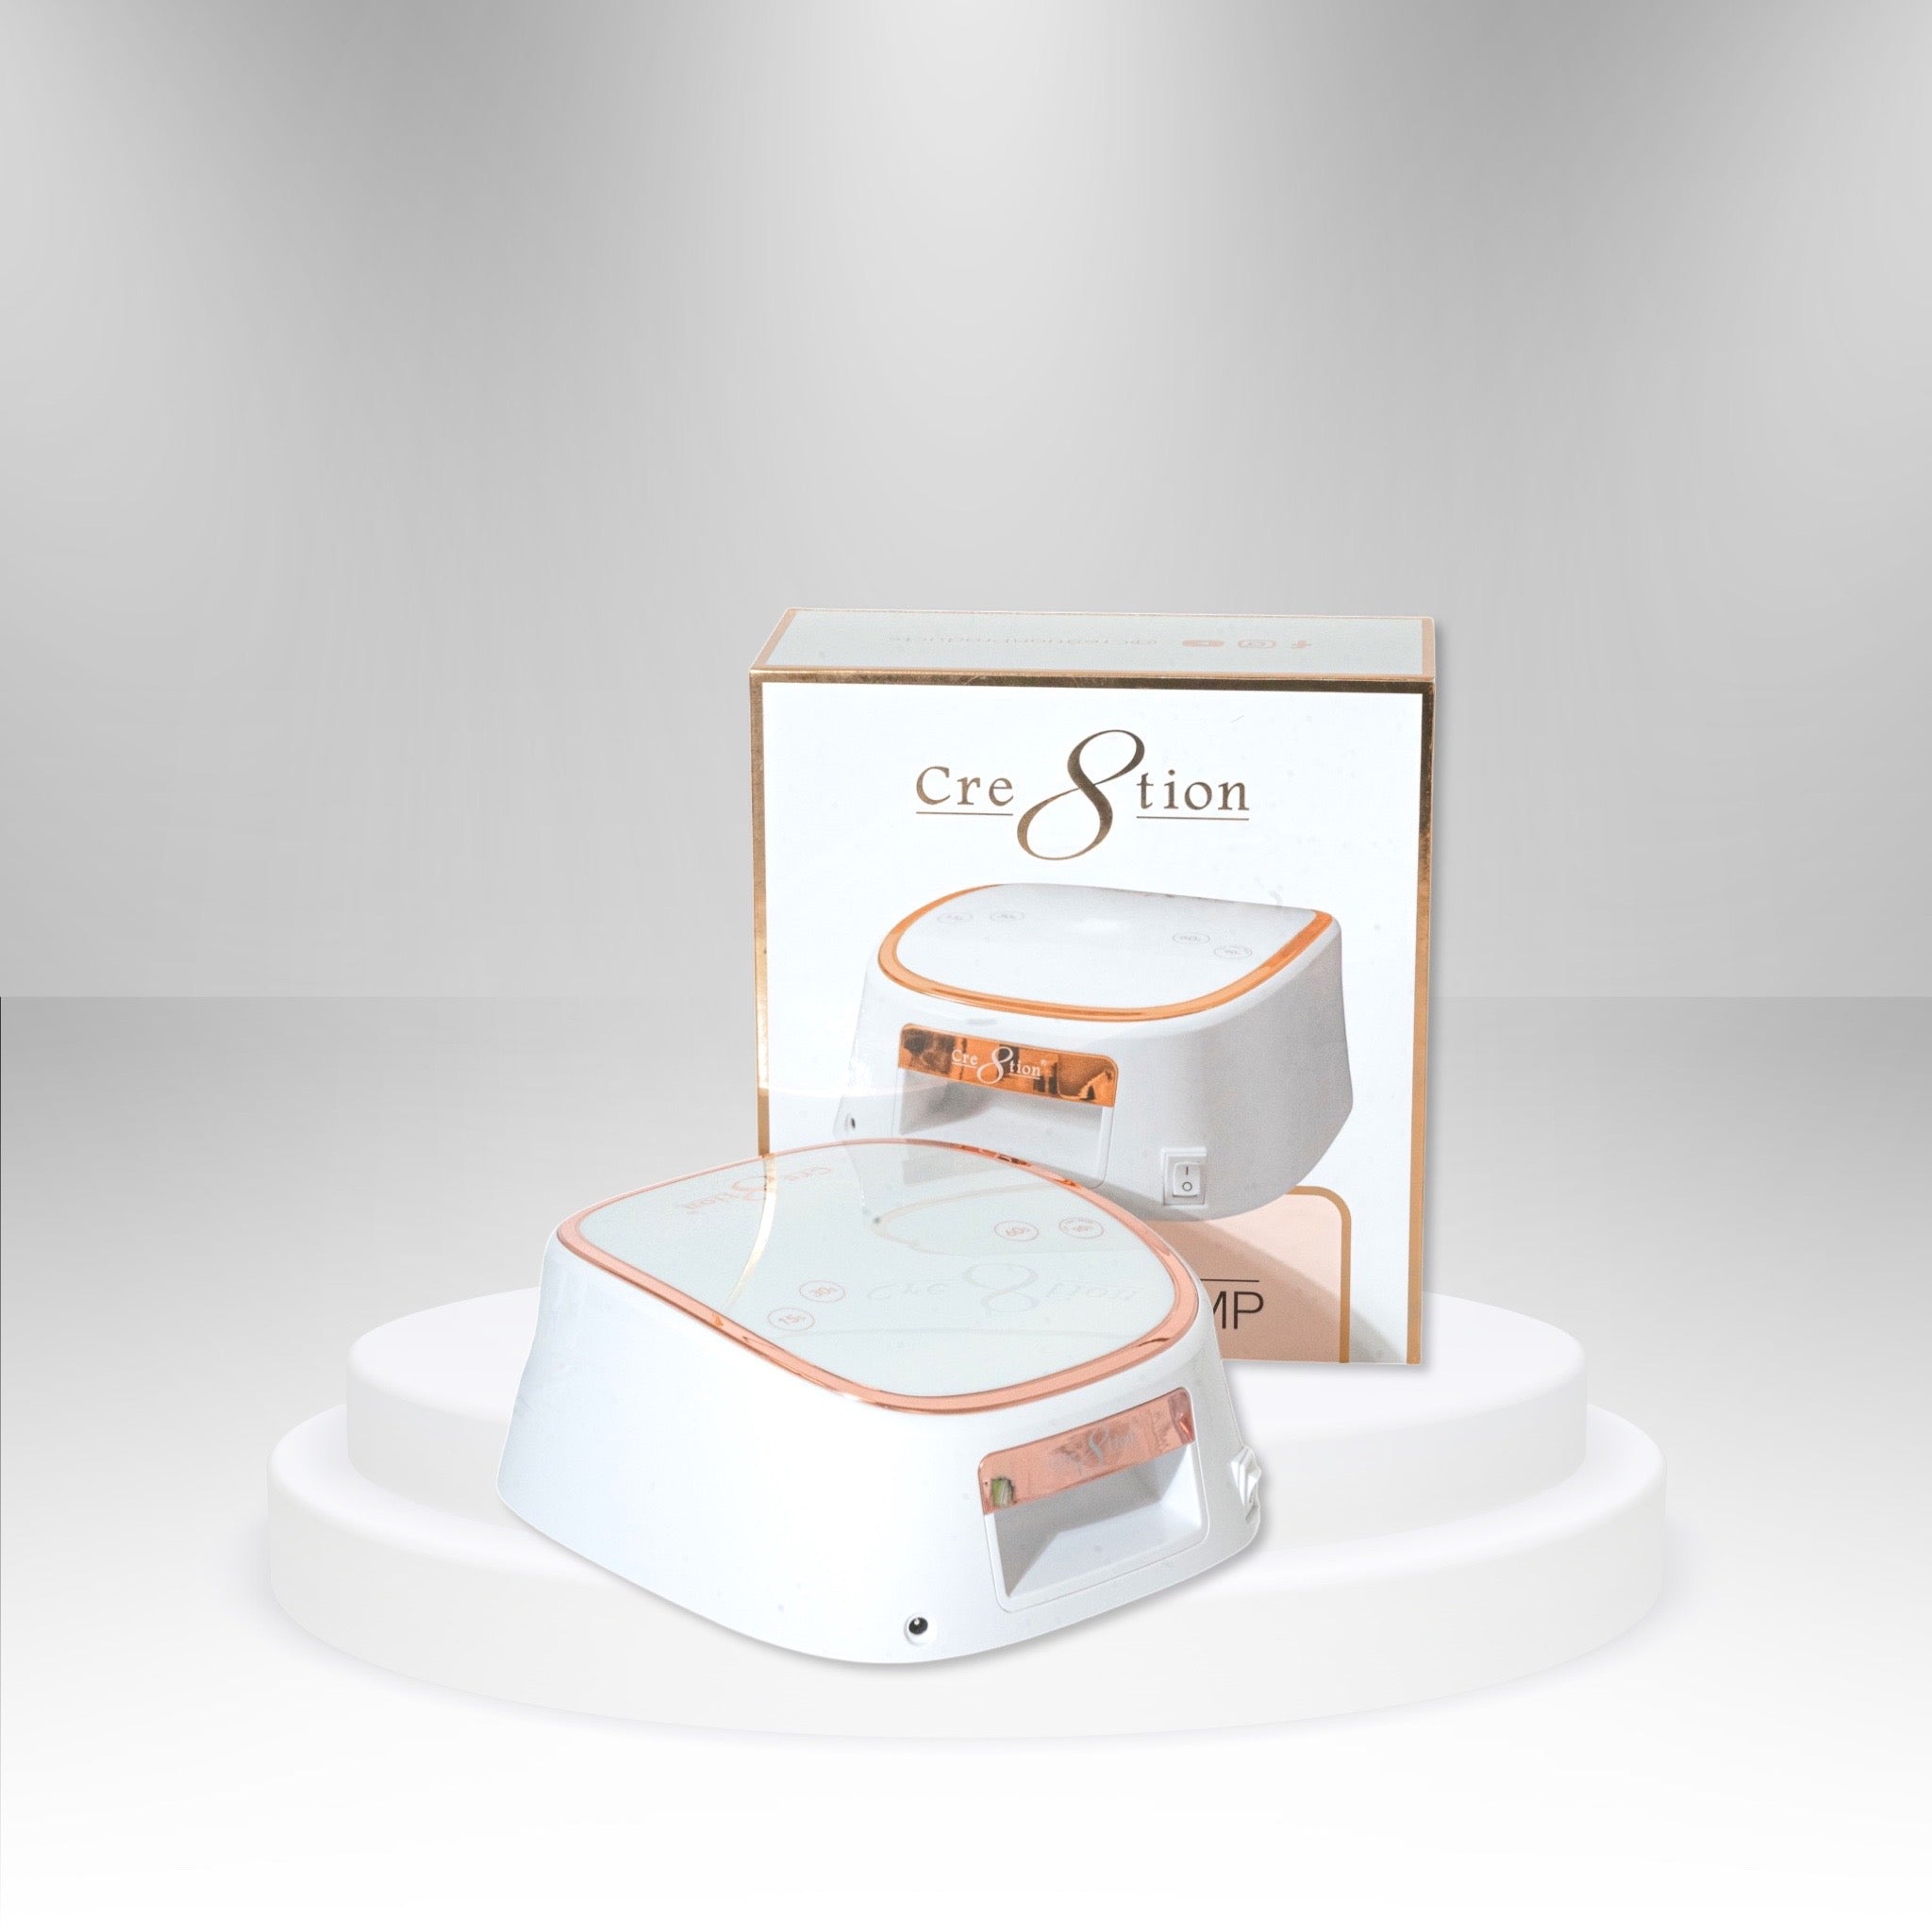
- Cure the Cre8tion gel base coat under a UV lamp.
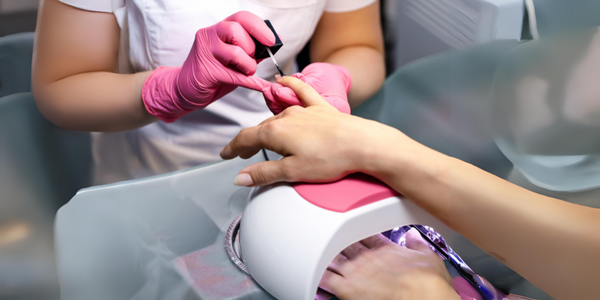
Choose Forms And Apply Nail Extension Gel:
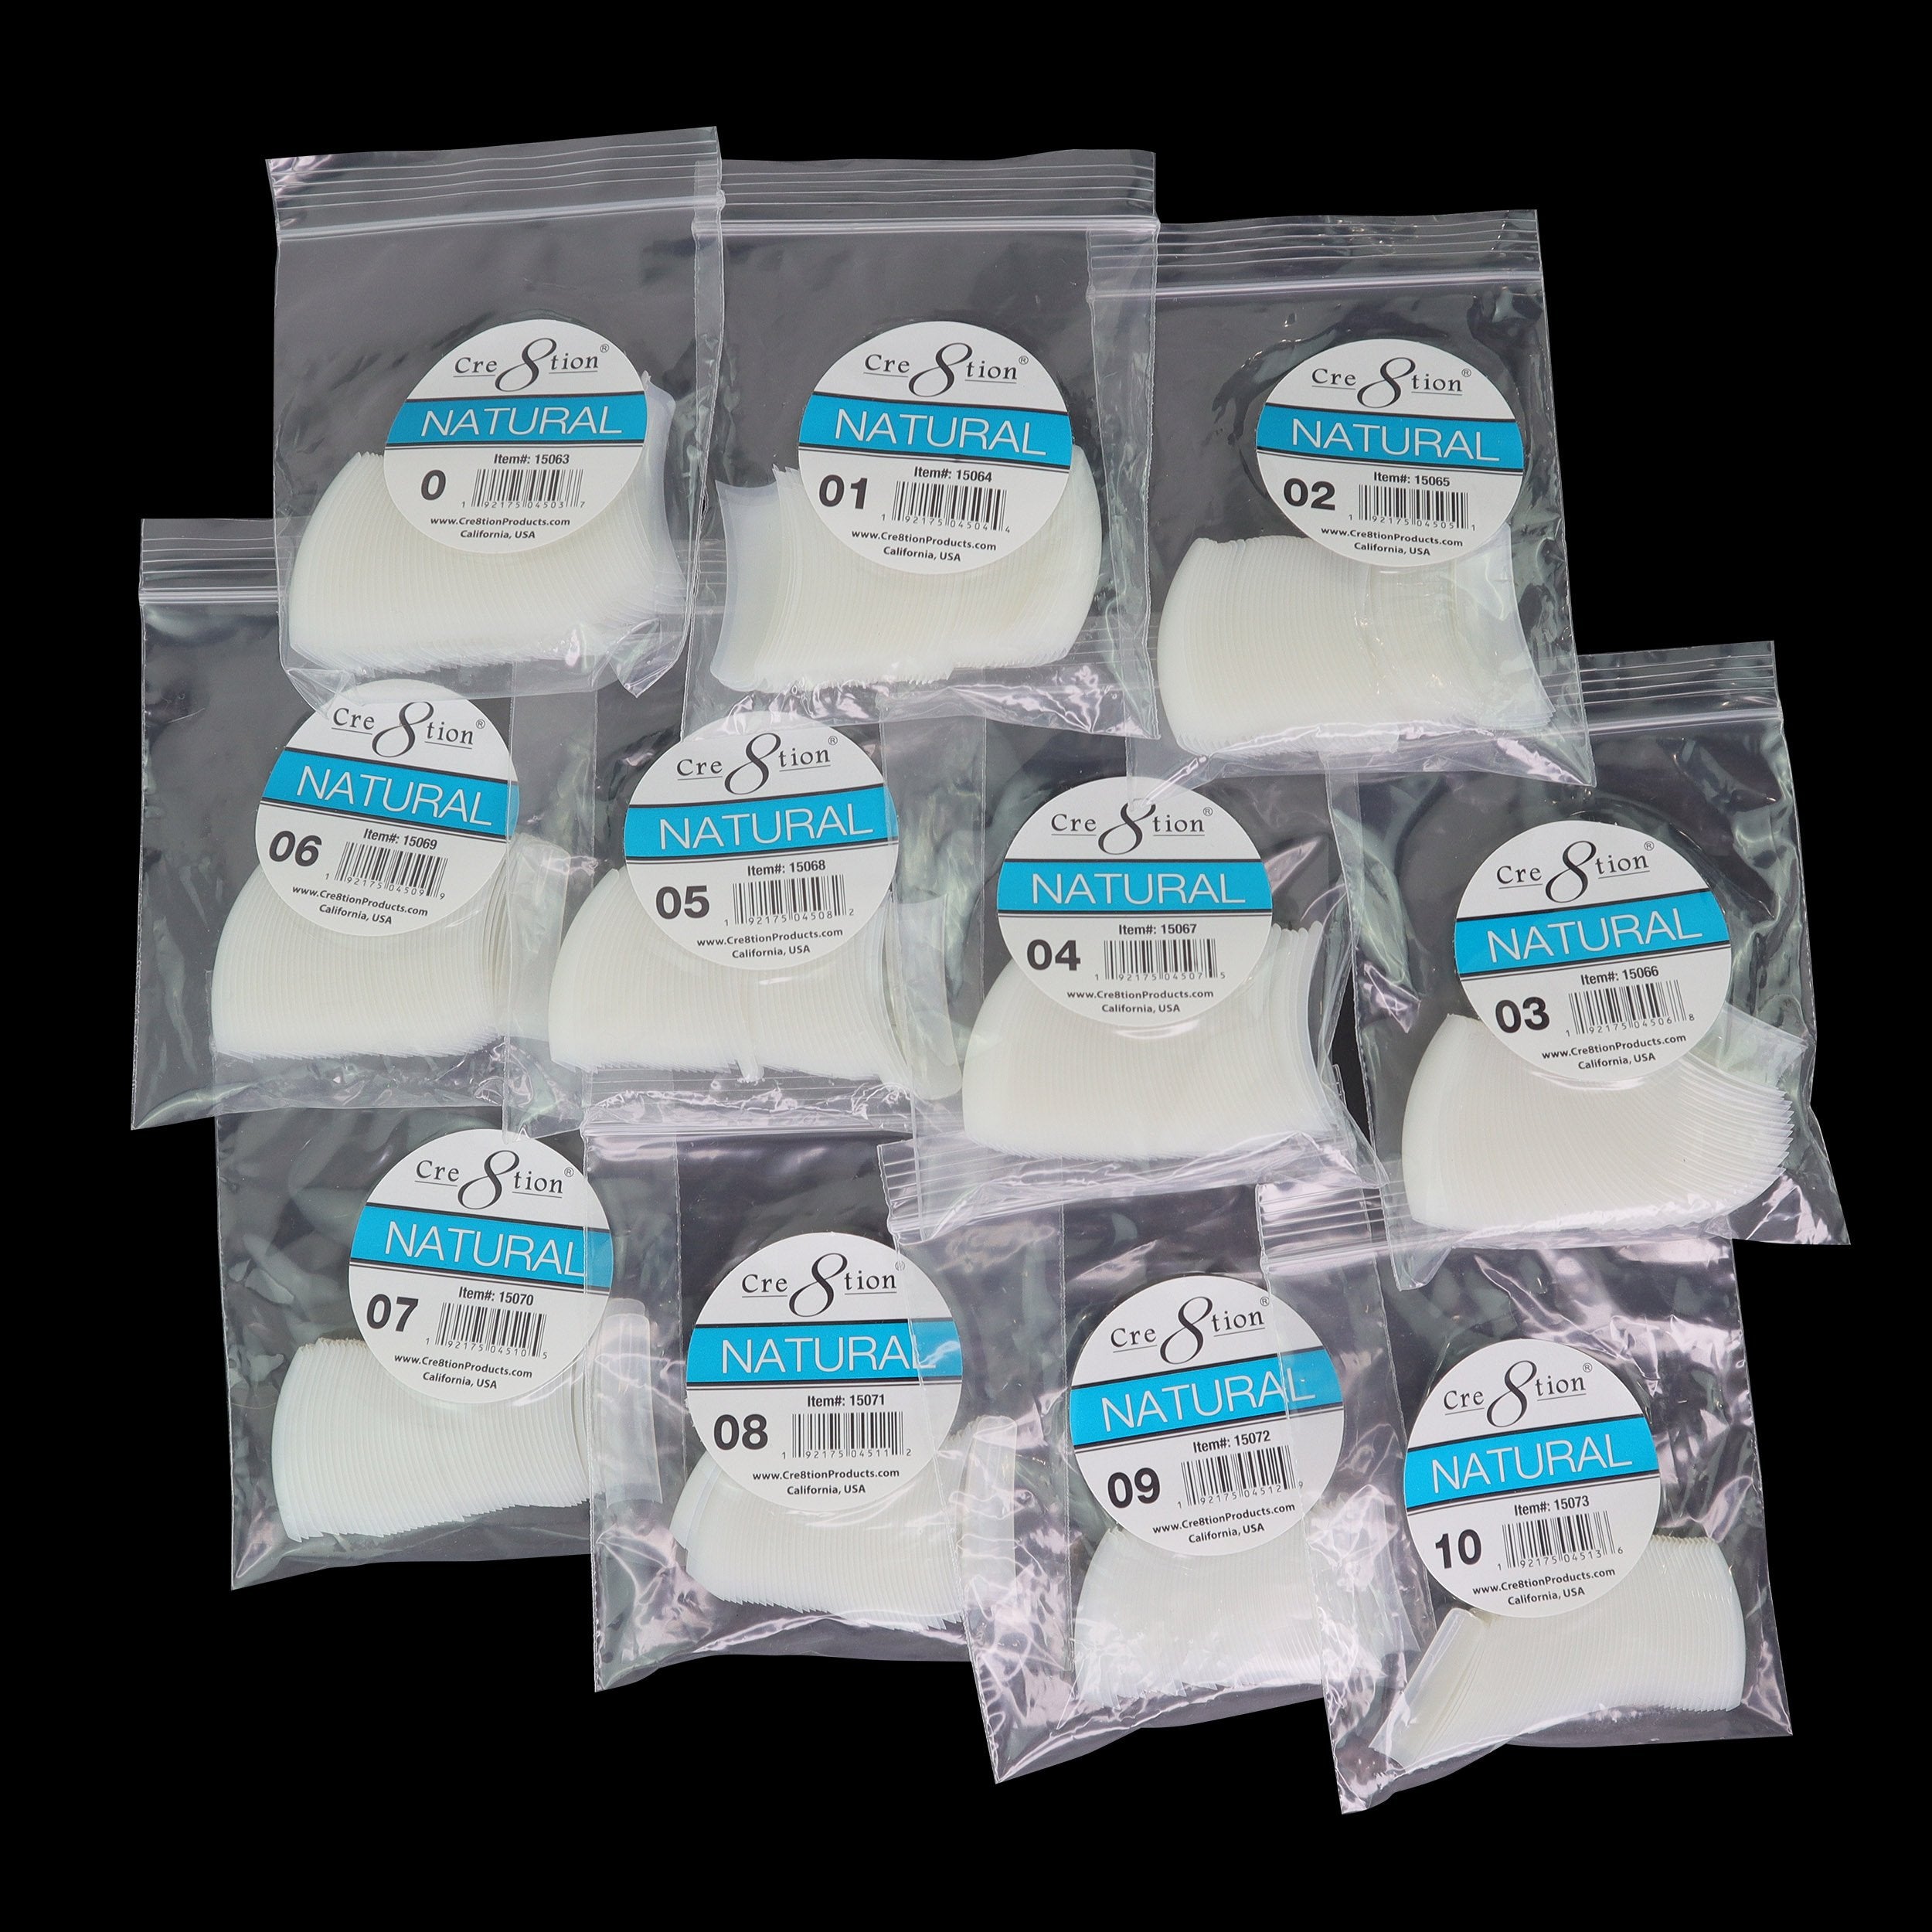
- Select the appropriate form for each nail, whether it's paper, plastic, or aluminum, ensuring there are no gaps between the form and the nail.
- Adjust each form to fit each finger comfortably and securely.
- Using a synthetic gel brush, apply a thin layer of Cre8tion nail extension gel to the form bordering the edge of your nails.
- Pull the nail extension gel to create a foundation or rough shape of the extension you want on your nails.
Sculpt and Cure the Nail Gel Extension:
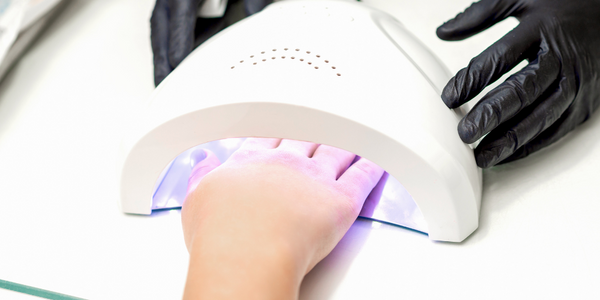
- Sculpt the Cre8tion nail extension gel to the desired shape,
- Build it up to meet the desired length and thickness.
- Use a measuring tool to ensure uniformity in length across all nails.
- Cure the gel under a UV/LED lamp for approximately 30 seconds.
File And Refine The Thin Layer of Cured Nail Extension Gel:
- Once cured, gently remove the form and wipe off any residue with a clean lint-free wipe.
- Carefully file your freshly cured nail extension thin layer to refine the shape and smooth out any imperfections.
- Compare the length and shape of each nail to ensure consistency and symmetry.
Apply the Main Layer of Nail Extension Gel:
- Using a wide brush, apply a generous layer of gel extension from the cuticle area to the tip of the nail.
- Even out the gel to create a smooth and uniform surface of the gel.
- Cure the gel under a UV lamp for at least 30 seconds.
Finishing Touches:
- After curing the main layer, lightly sand the nail to remove any rough edges and perfect the shape.
- File again your nail extension to your desired length and shape, ensuring a flawless finish.
- Apply a Cre8tion scratch-resistant top coat to seal and protect the extensions,
- Go for finally curing the top coat under the UV lamp. Voila! You’ve achieved the perfect nail gel extensions.
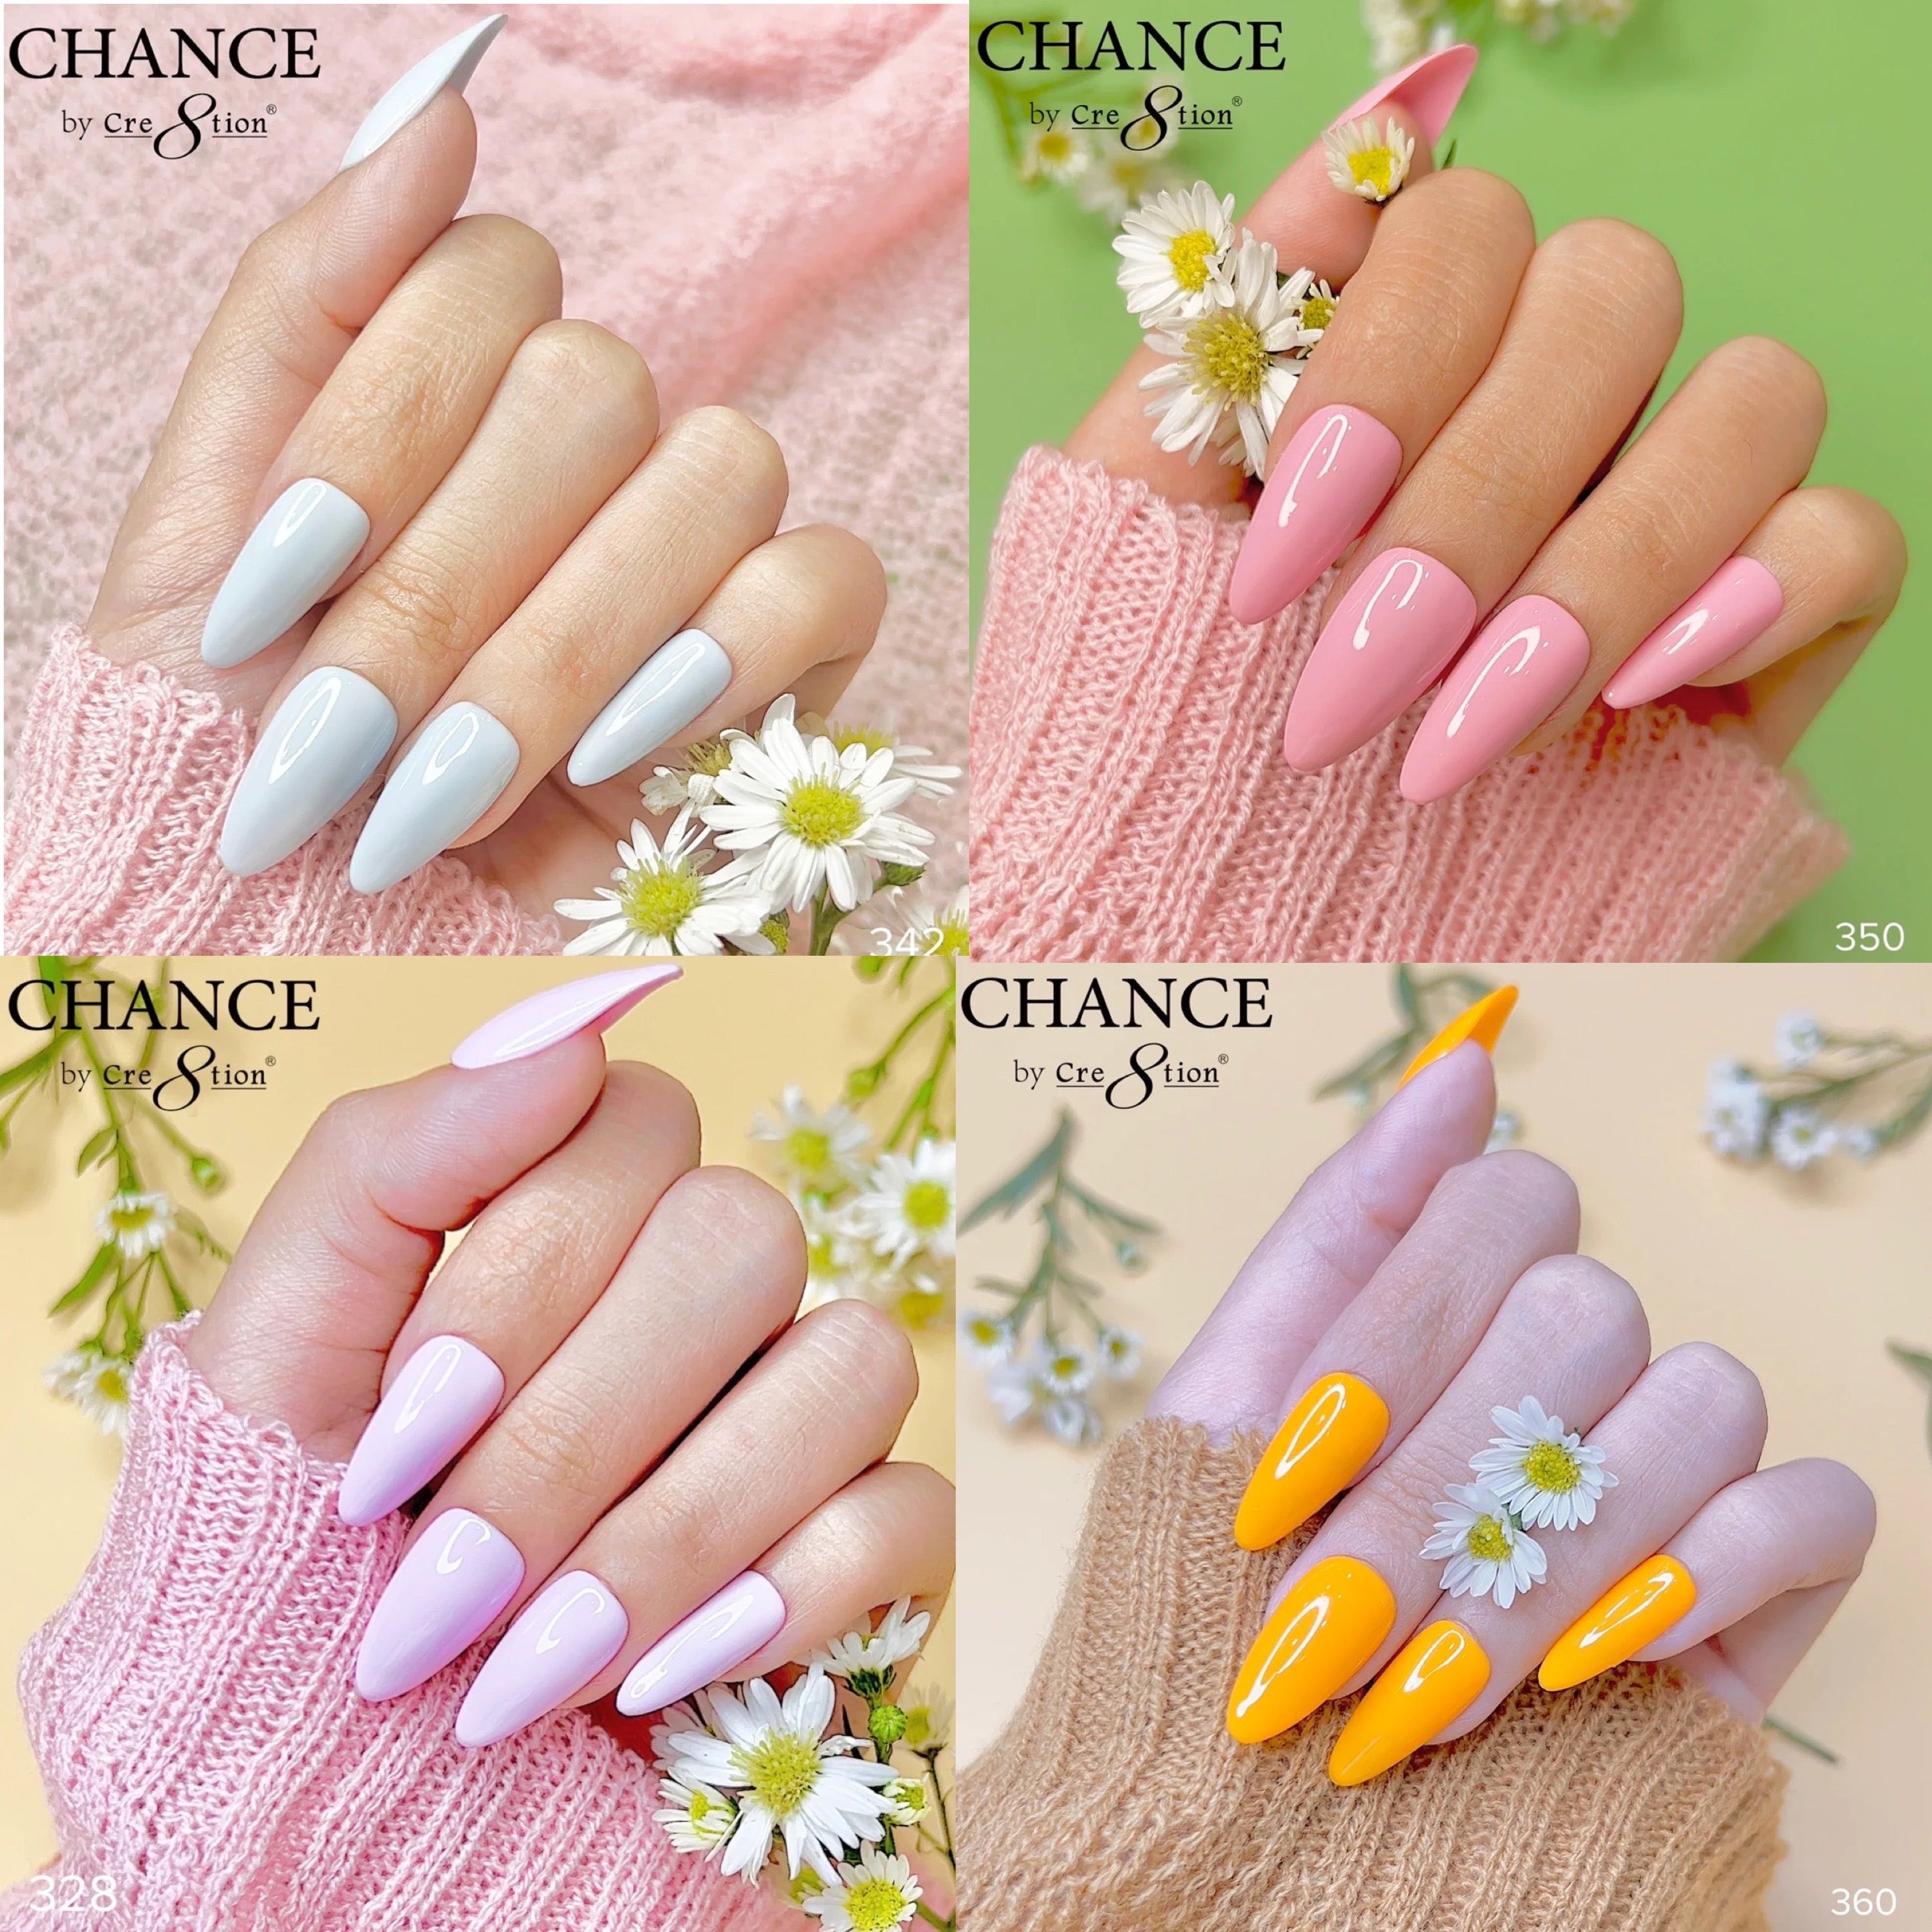
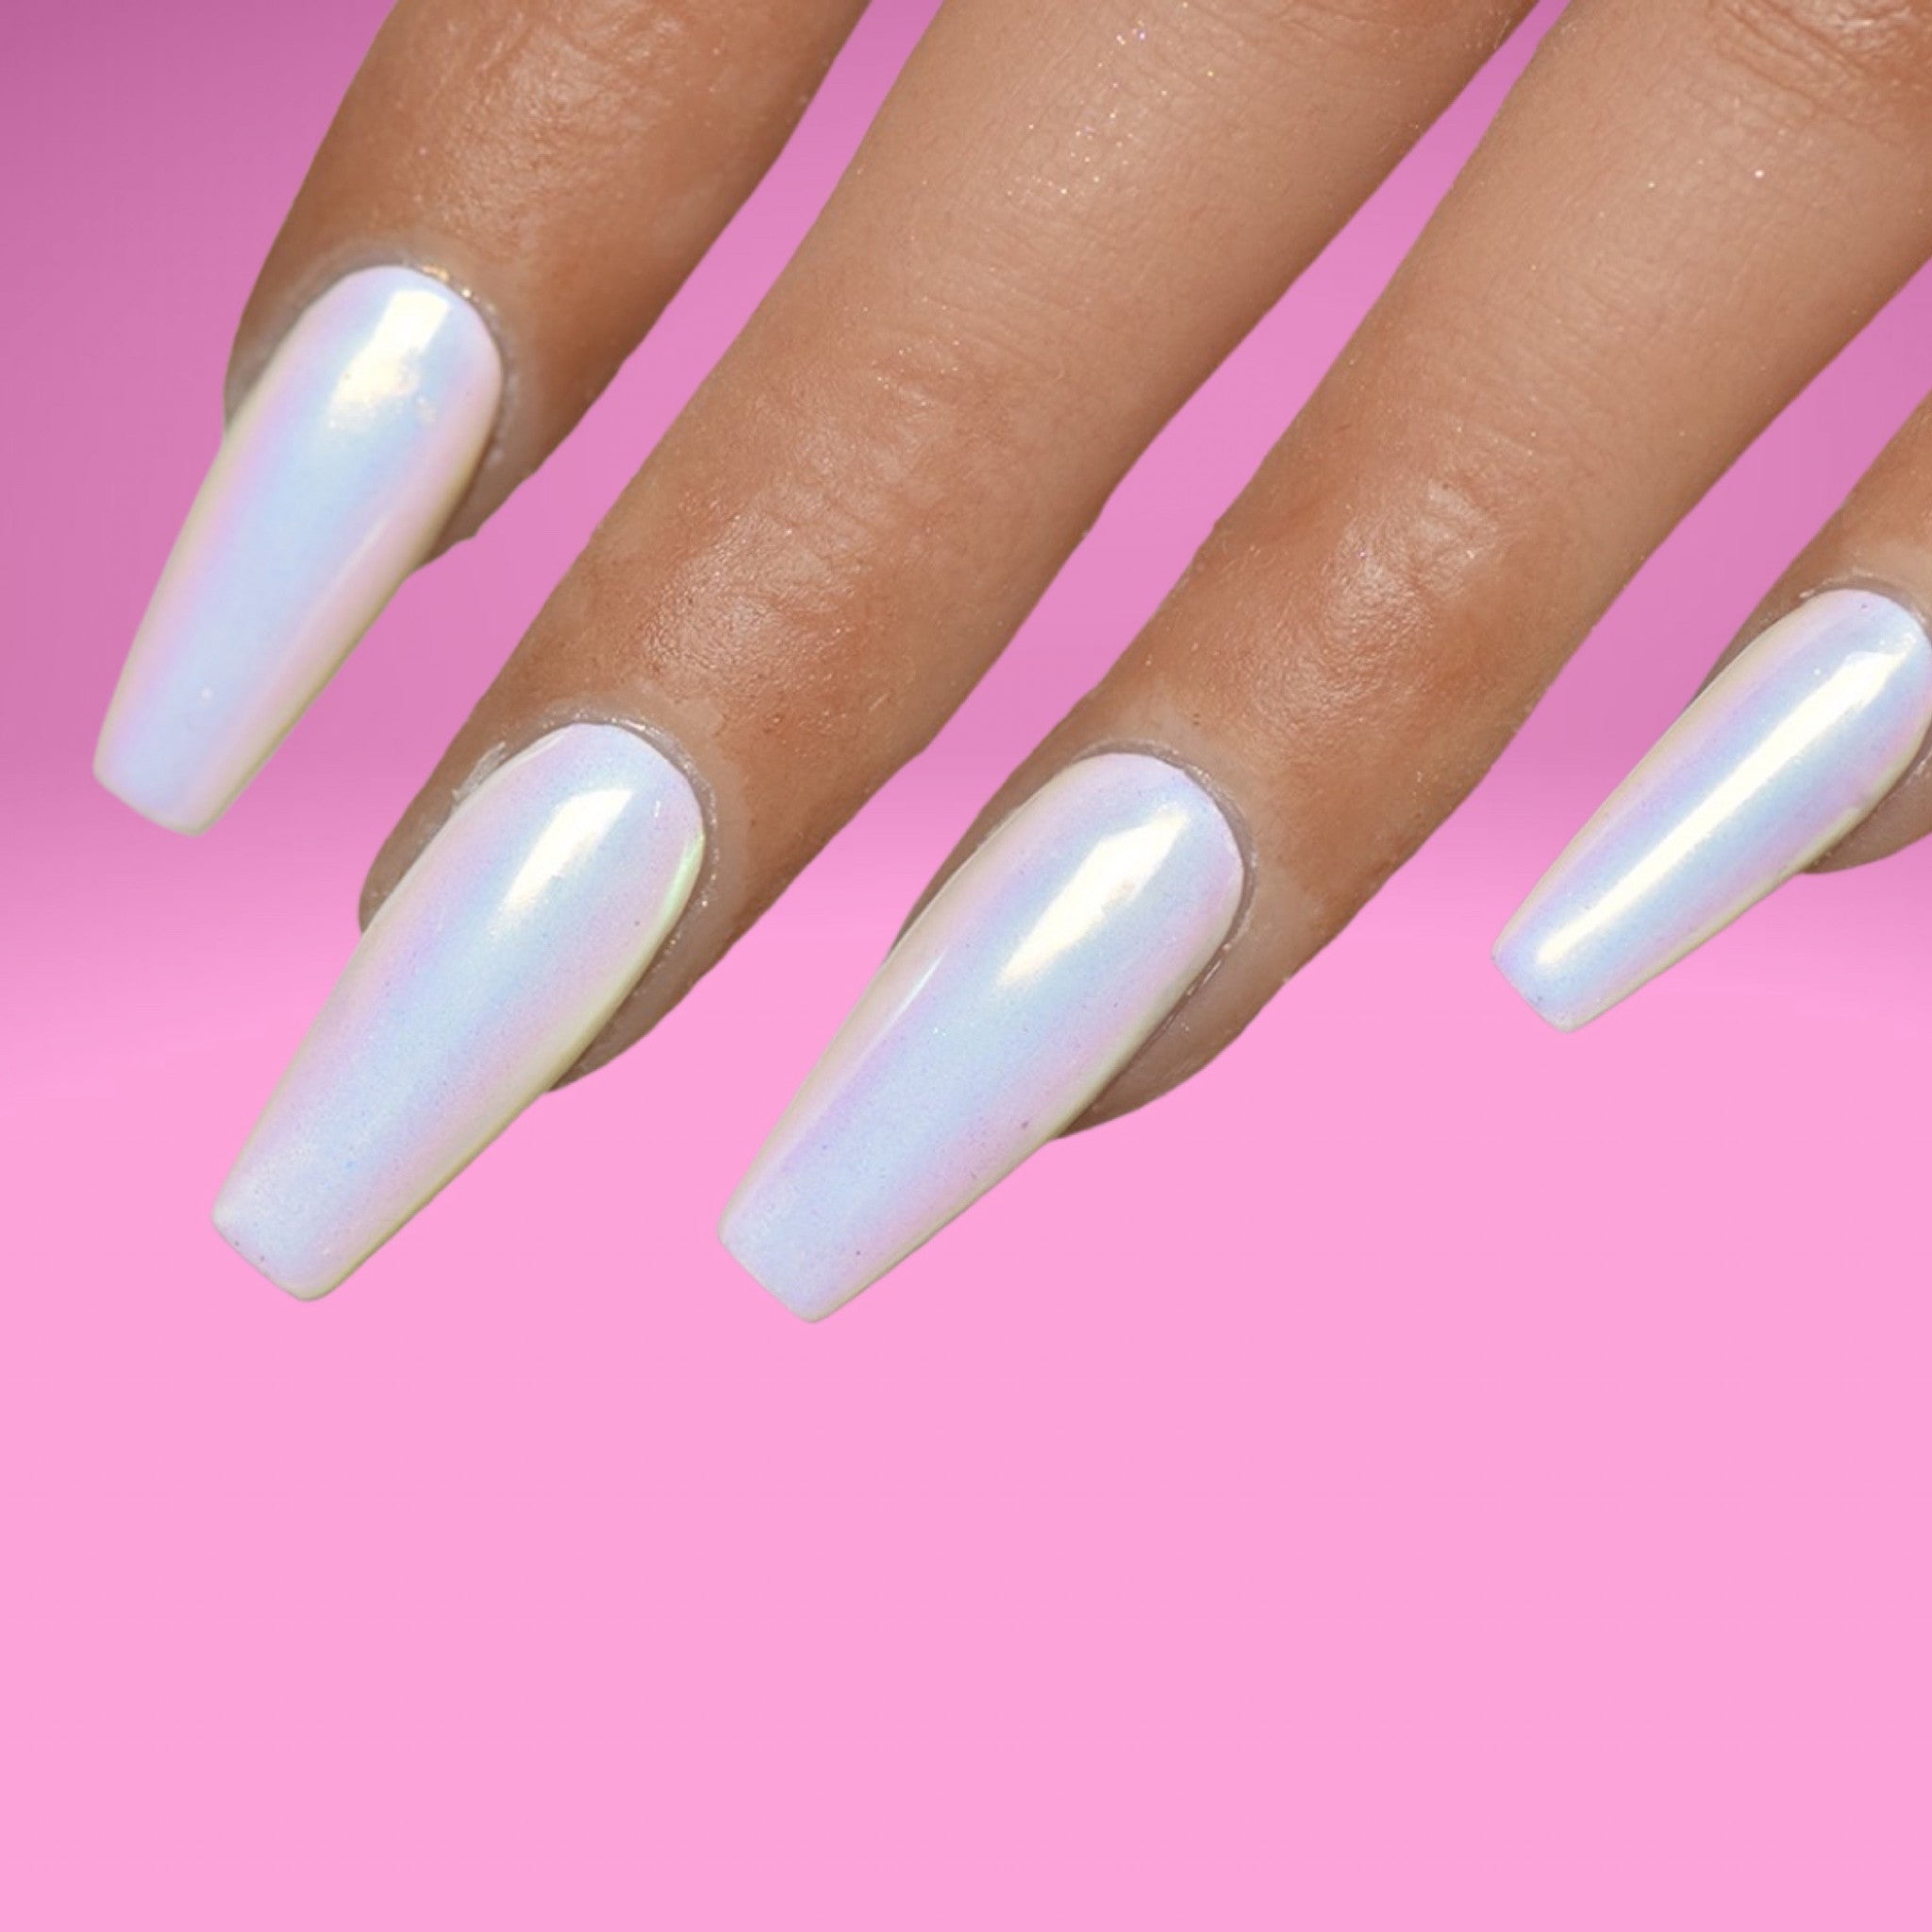
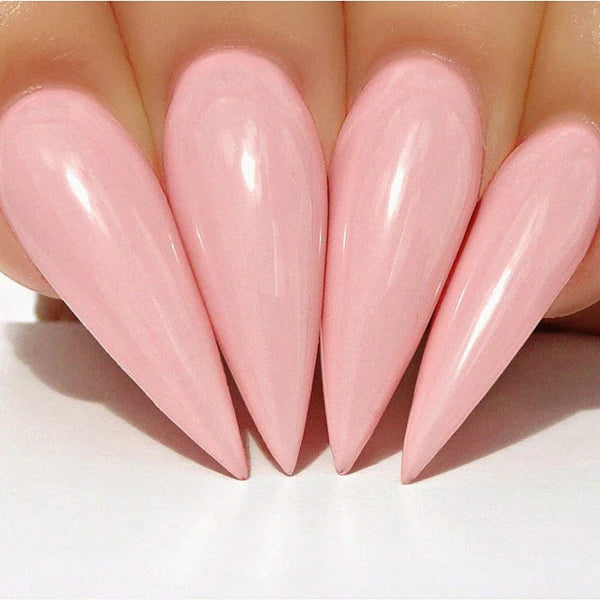
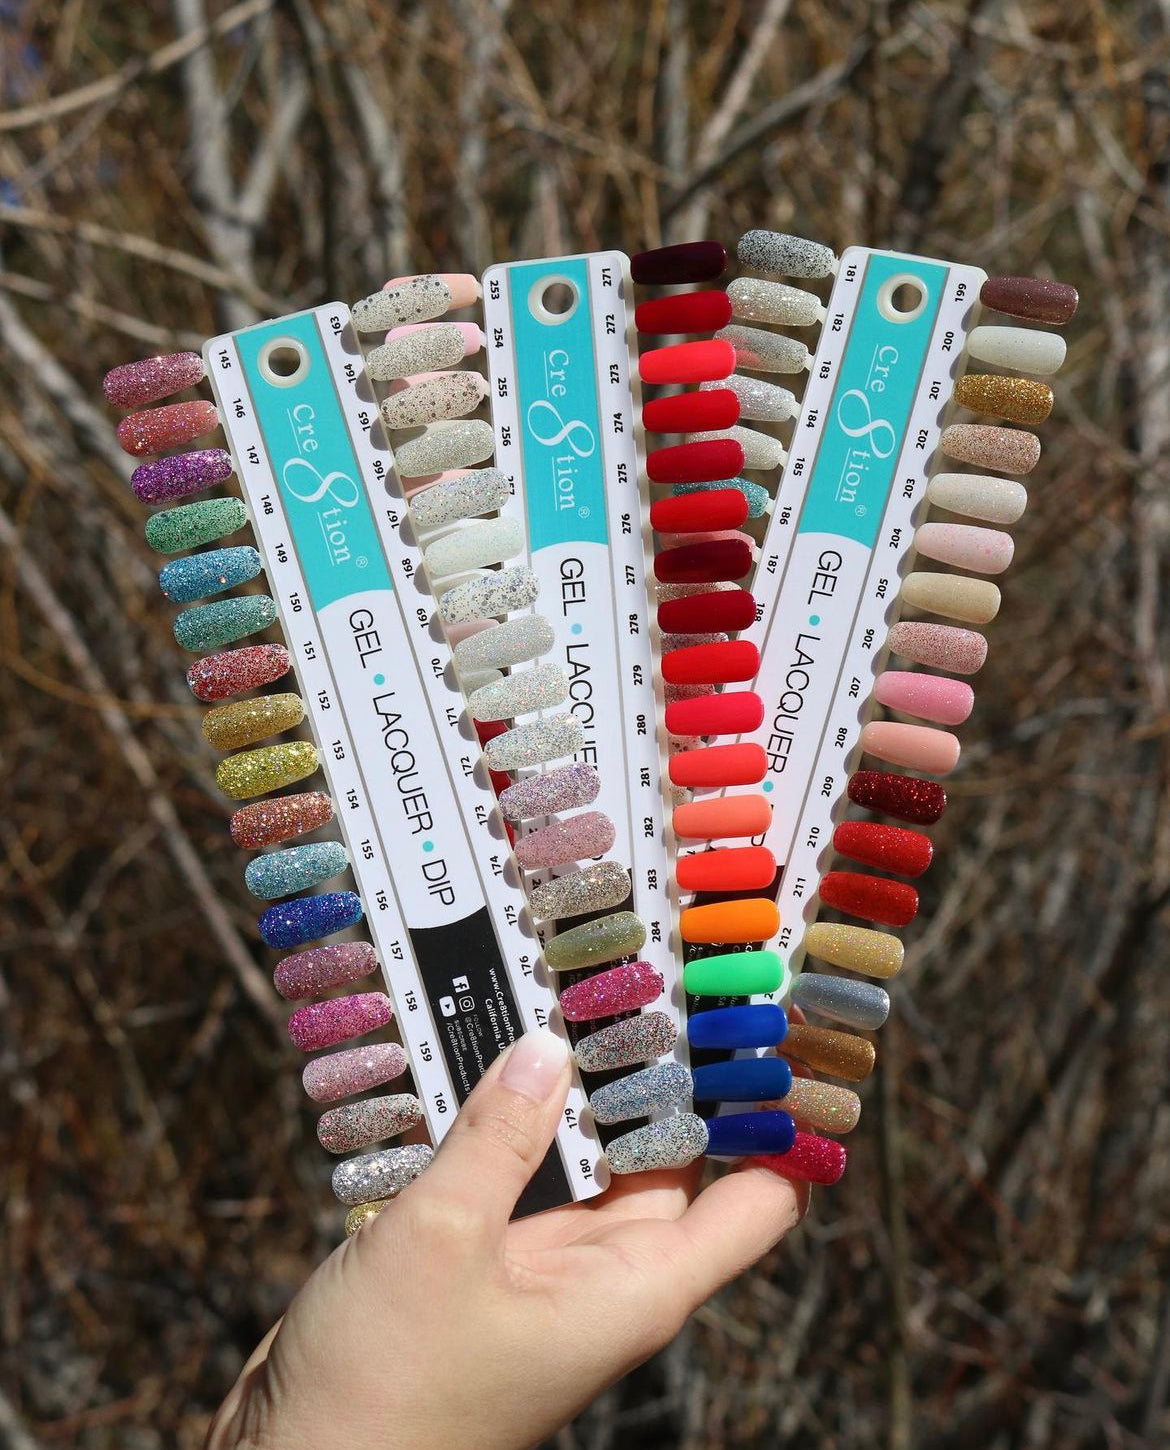
With these simple steps, you can achieve perfect nail extensions using Cre8tion Nail Extension Gel. Whether you prefer a natural look or something more extravagant, the easy-to-use feature of Cre8tion Nail Extension Gel allows you to experiment with your creativity and create stunning nail designs.
So why wait? Grab your Cre8tion Nail Extension Gel from Treasure4nails and start mastering the art of nail extensions today!